Master AI & Build your First Coding Portfolio with SkillReactor | Sign Up Now
Postman Fundamentals
Main
2. Basic Setup
Getting Started with POSTMAN
To use POSTMAN, you can either access the web version or install the desktop application on your computer. Visit POSTMAN's website to get started.
Workspaces
Workspaces in Postman are shared environments where teams collaborate on API development projects.
-
Accessing Workspaces:
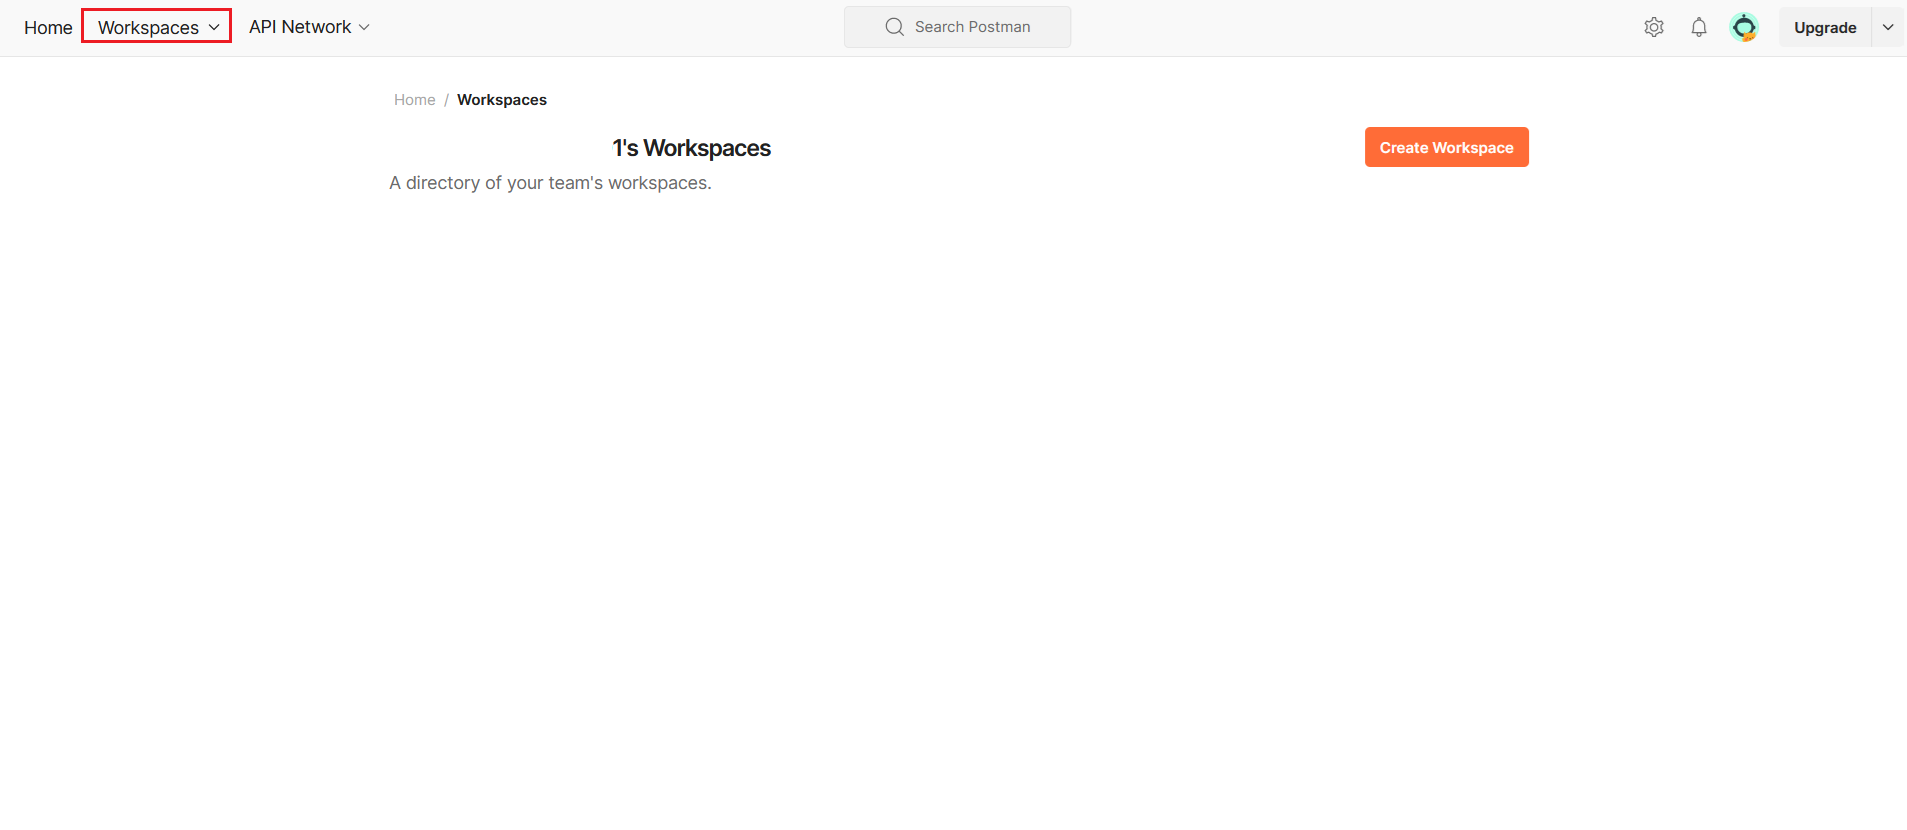
When you sign up or log in to POSTMAN, you'll typically land in your workspace. If not, click on the Workspaces option in the navigation bar.
-
Creating a New Workspace:
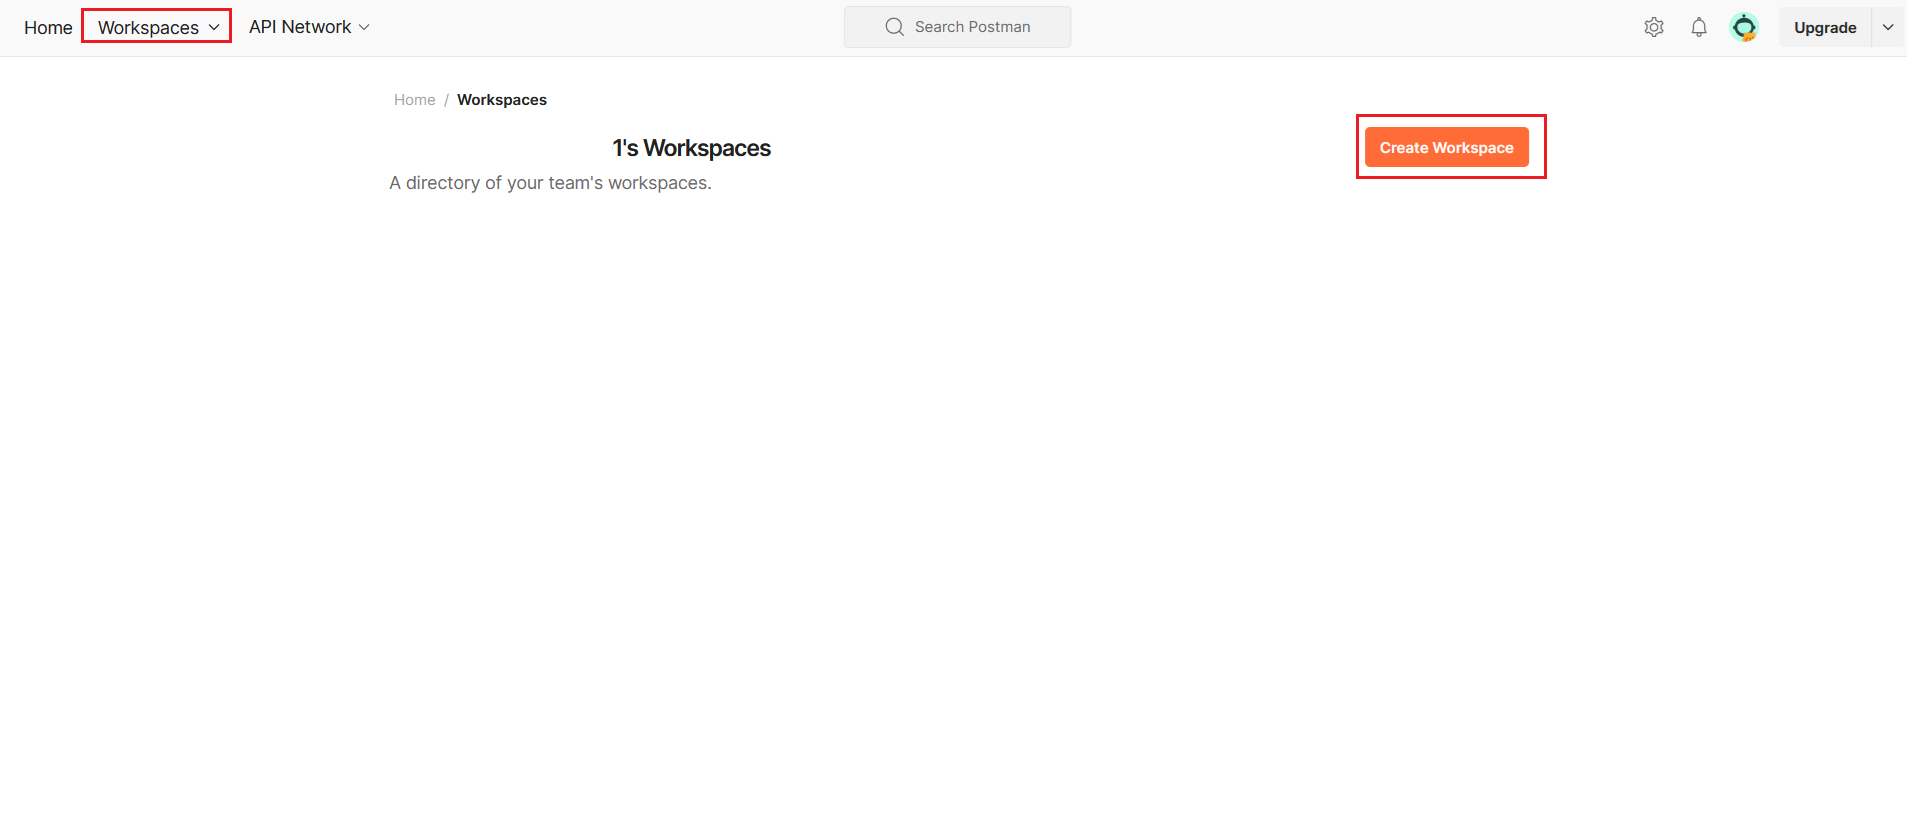
If no workspace exists, click Create Workspace:
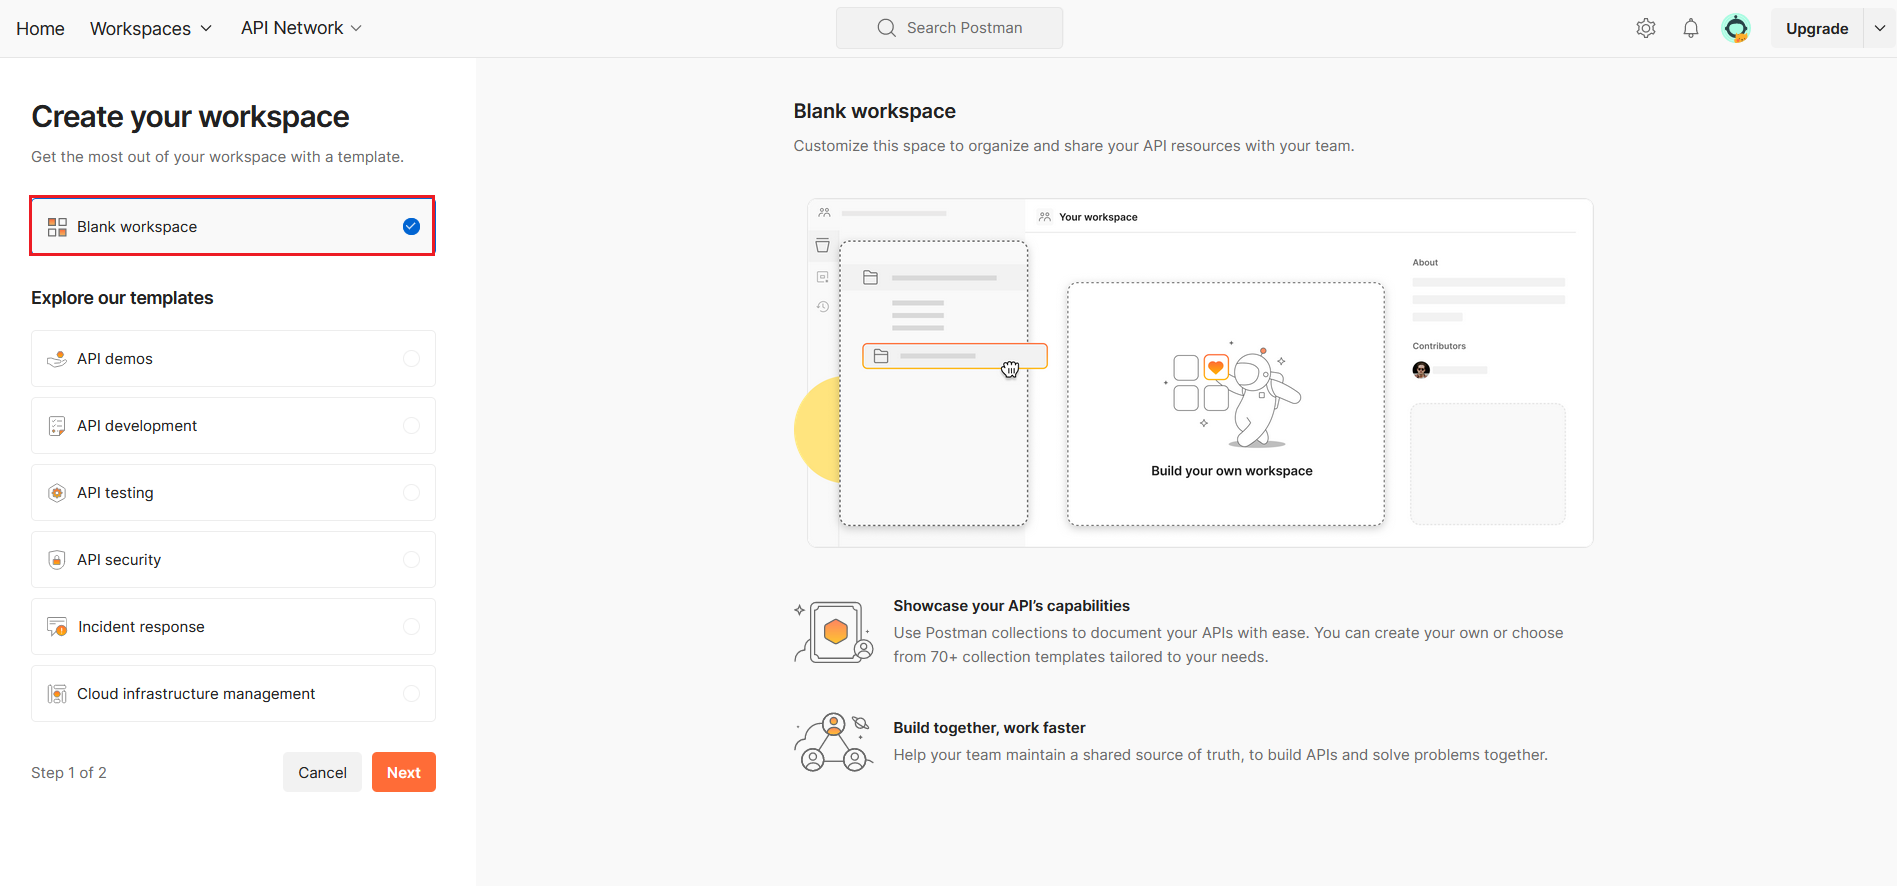
Choose a template (e.g., Blank template).
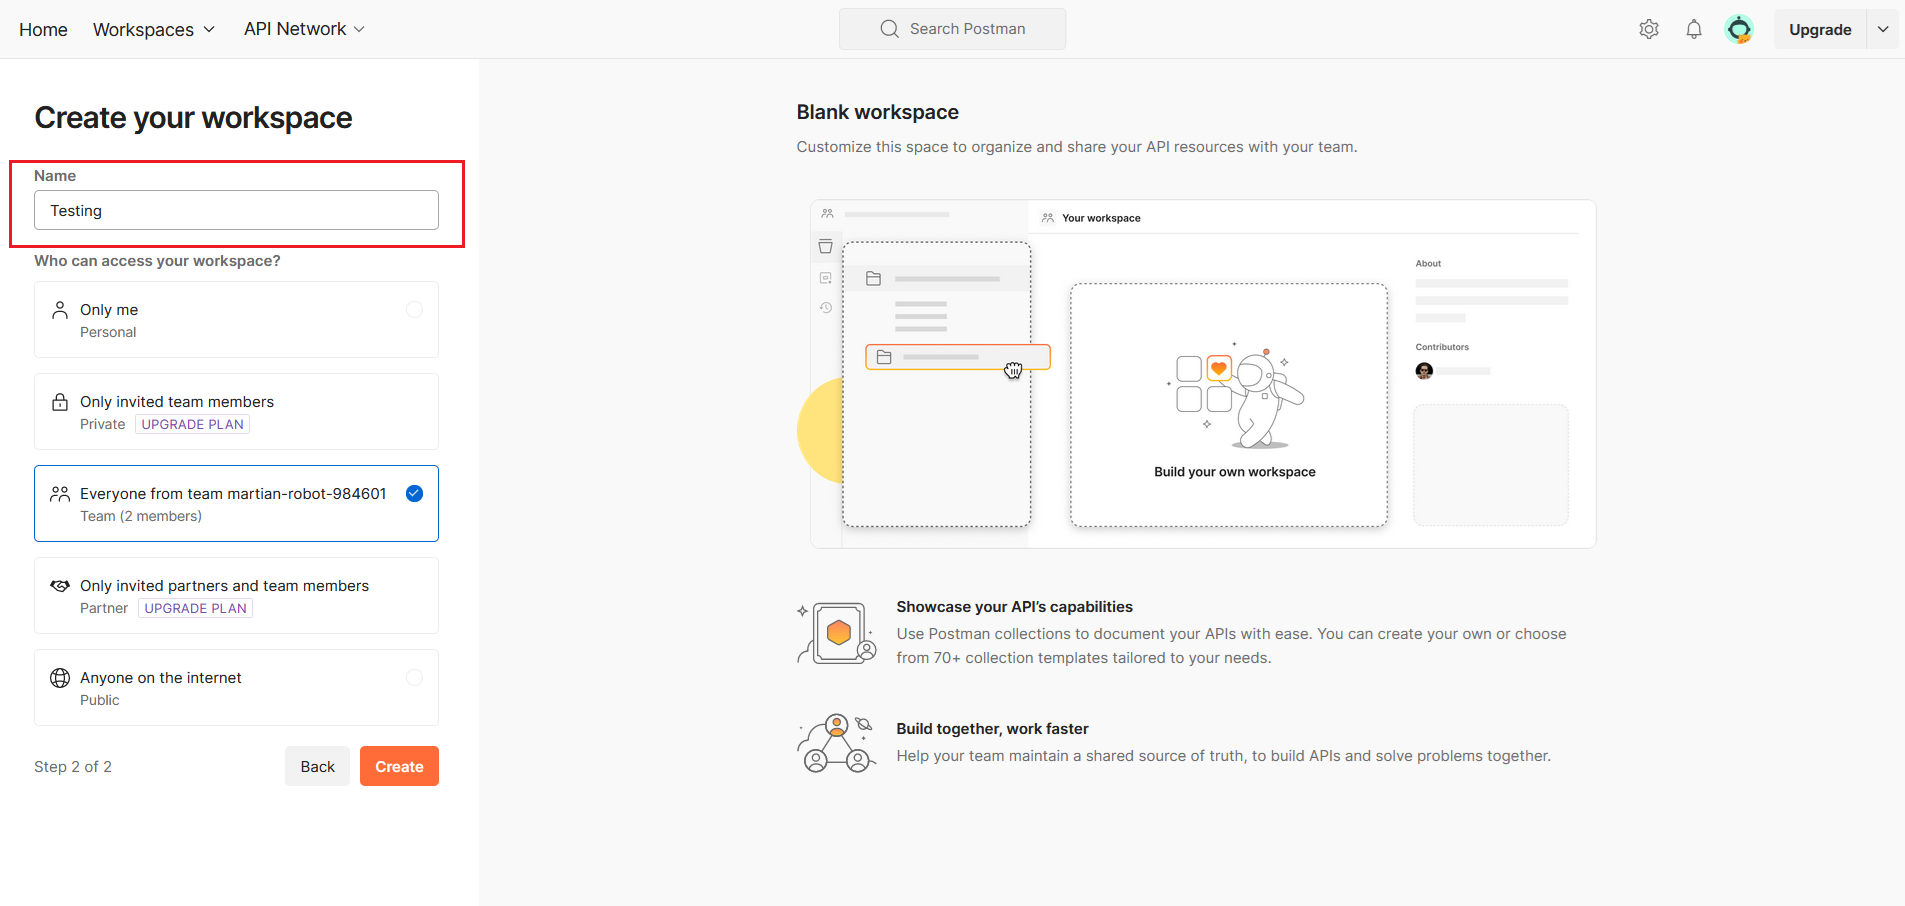
Follow the prompts to name your workspace, such as "Testing," and create it.
-
Viewing Collections:
Once in a workspace, you'll see a list of collections. Collections organize and manage related API requests, tests, and documentation.
Collections
Collections in Postman are folders that organize and manage API requests efficiently.
-
Creating a Collection:
To create a collection, click Create Collection:
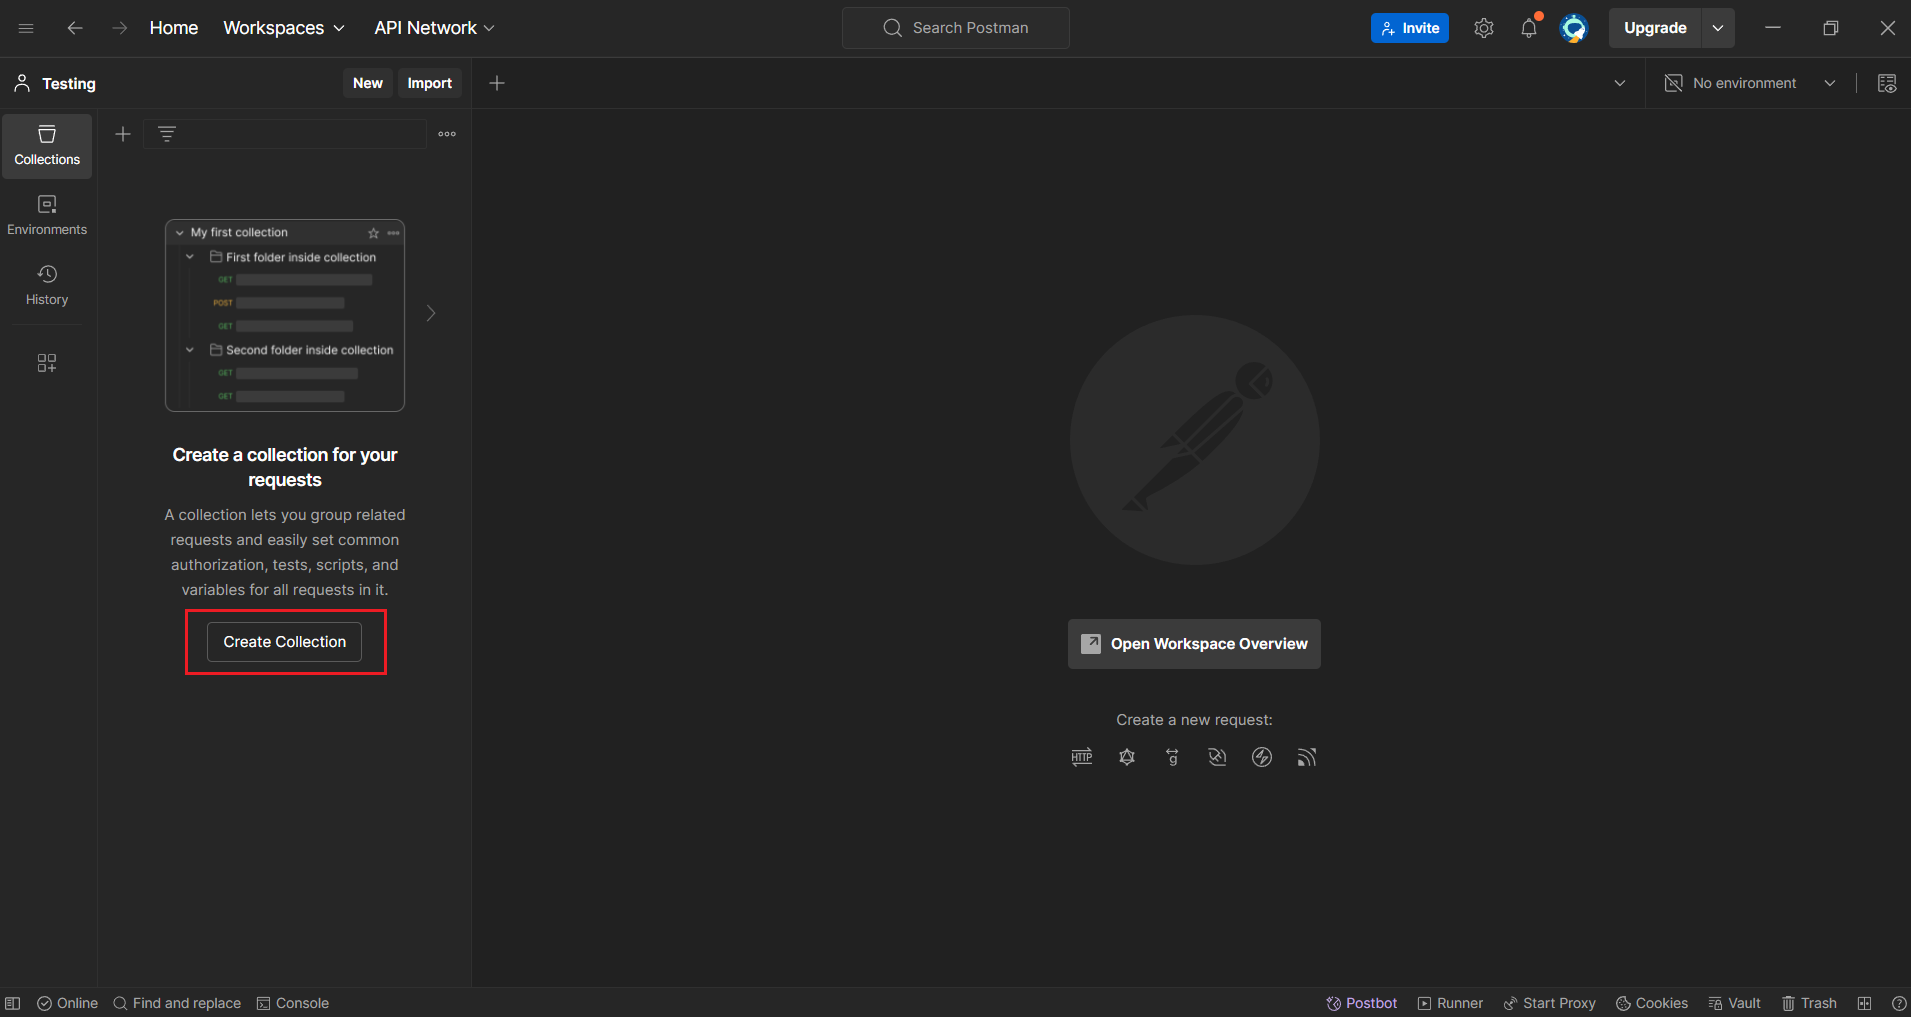
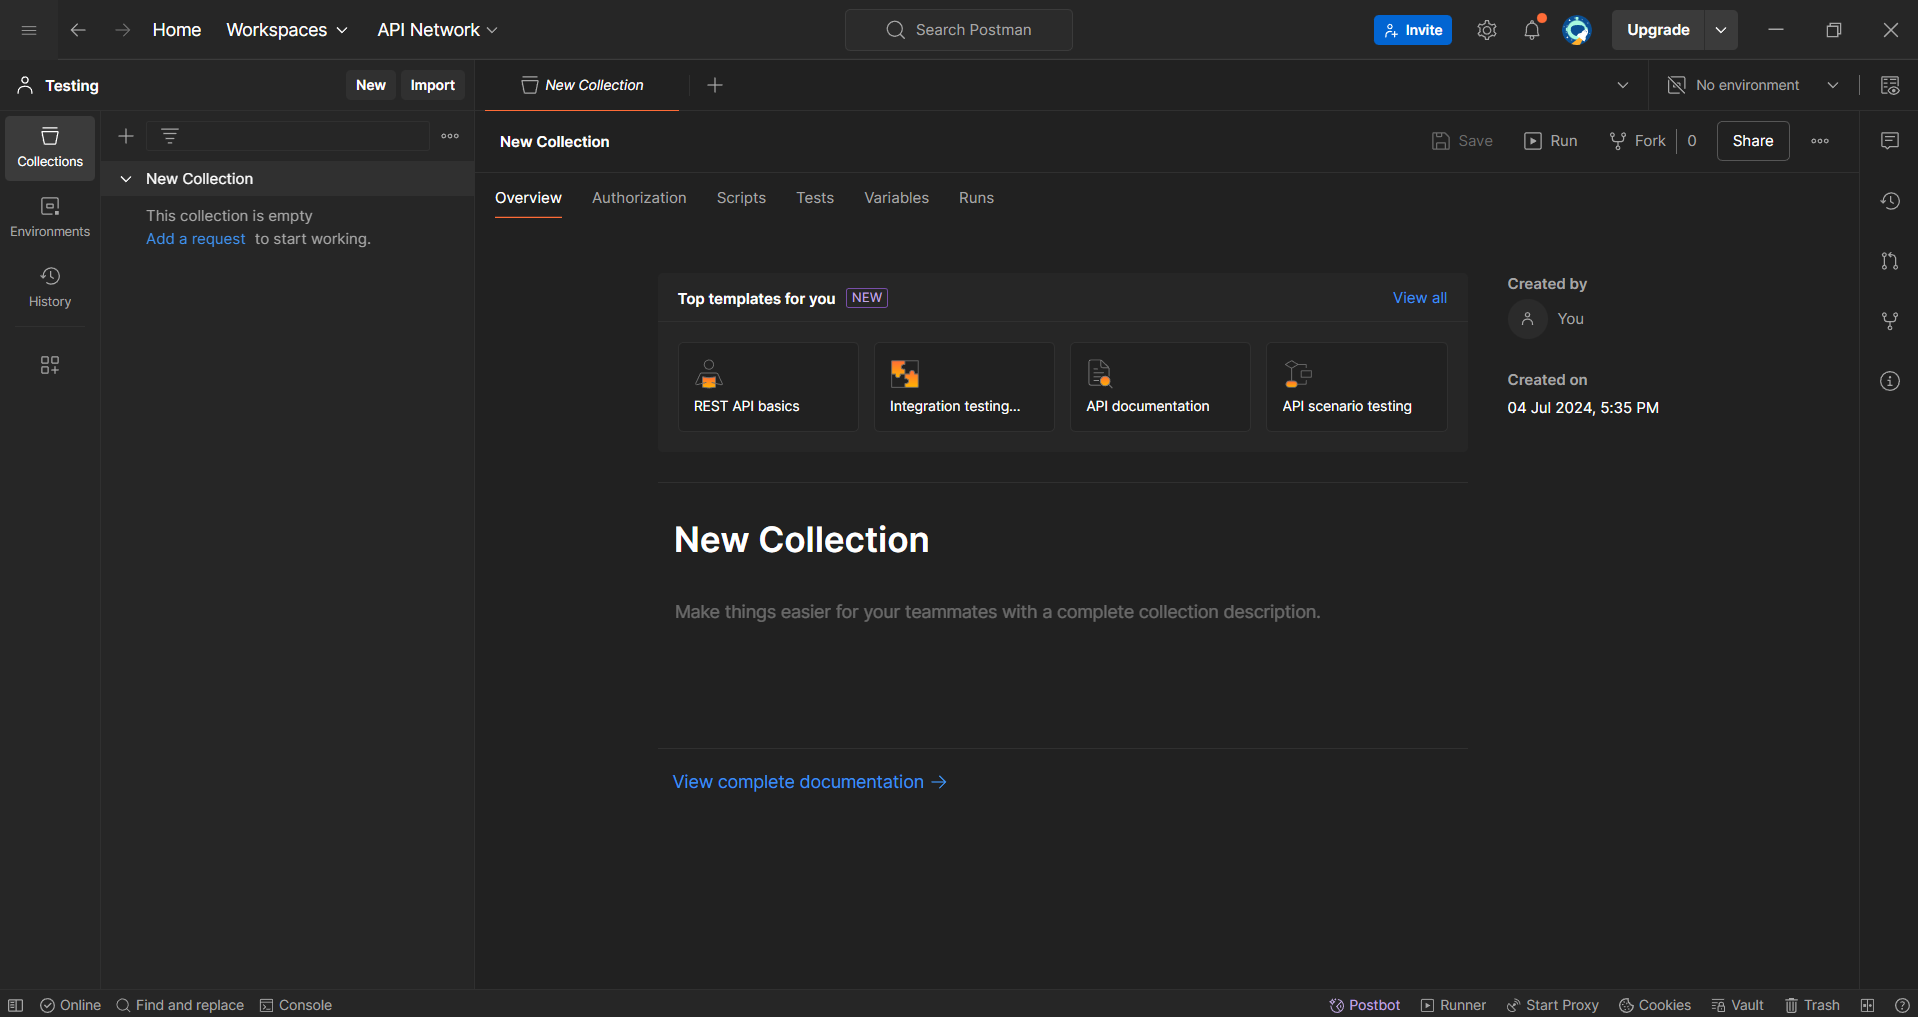
Postman will create a new collection named "New Collection":
-
Adding Requests to a Collection:
Inside a collection, add a request by clicking Add Request:
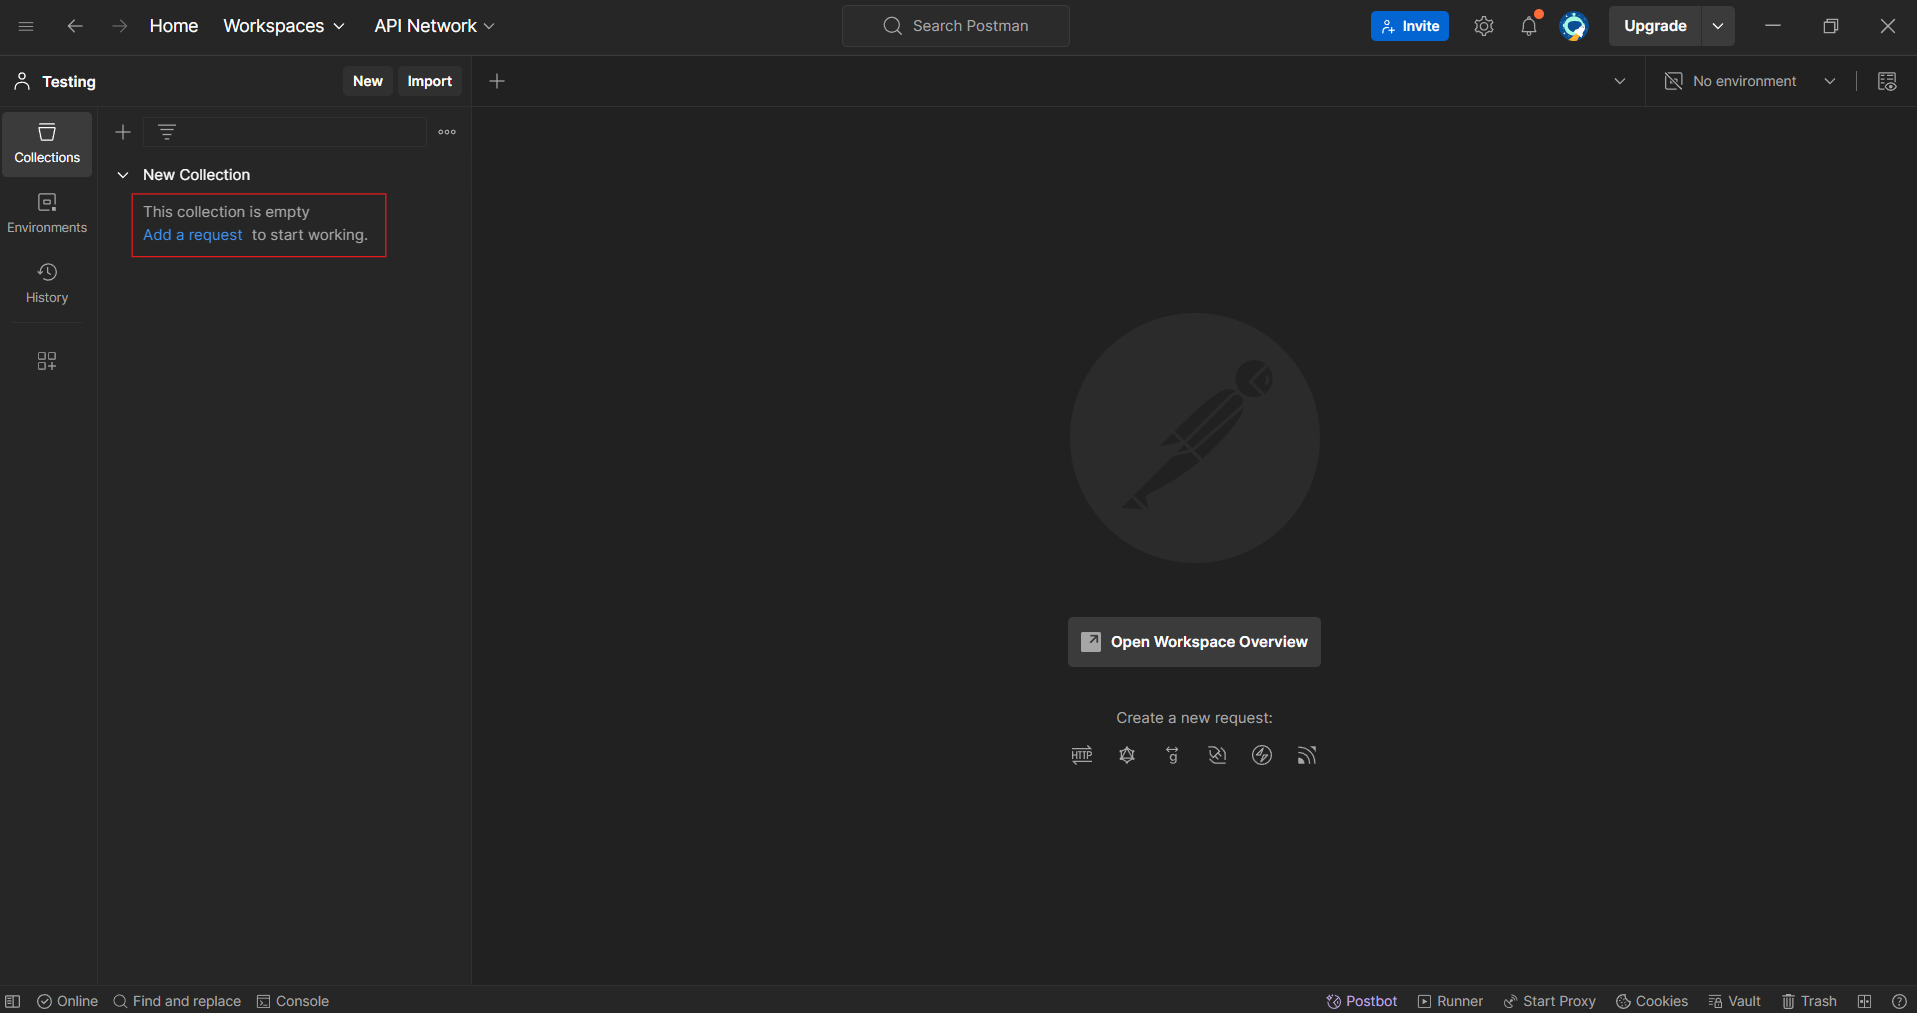
Alternatively, hover over the collection name, click the three dots, and select Add Request:

This opens a new request window:
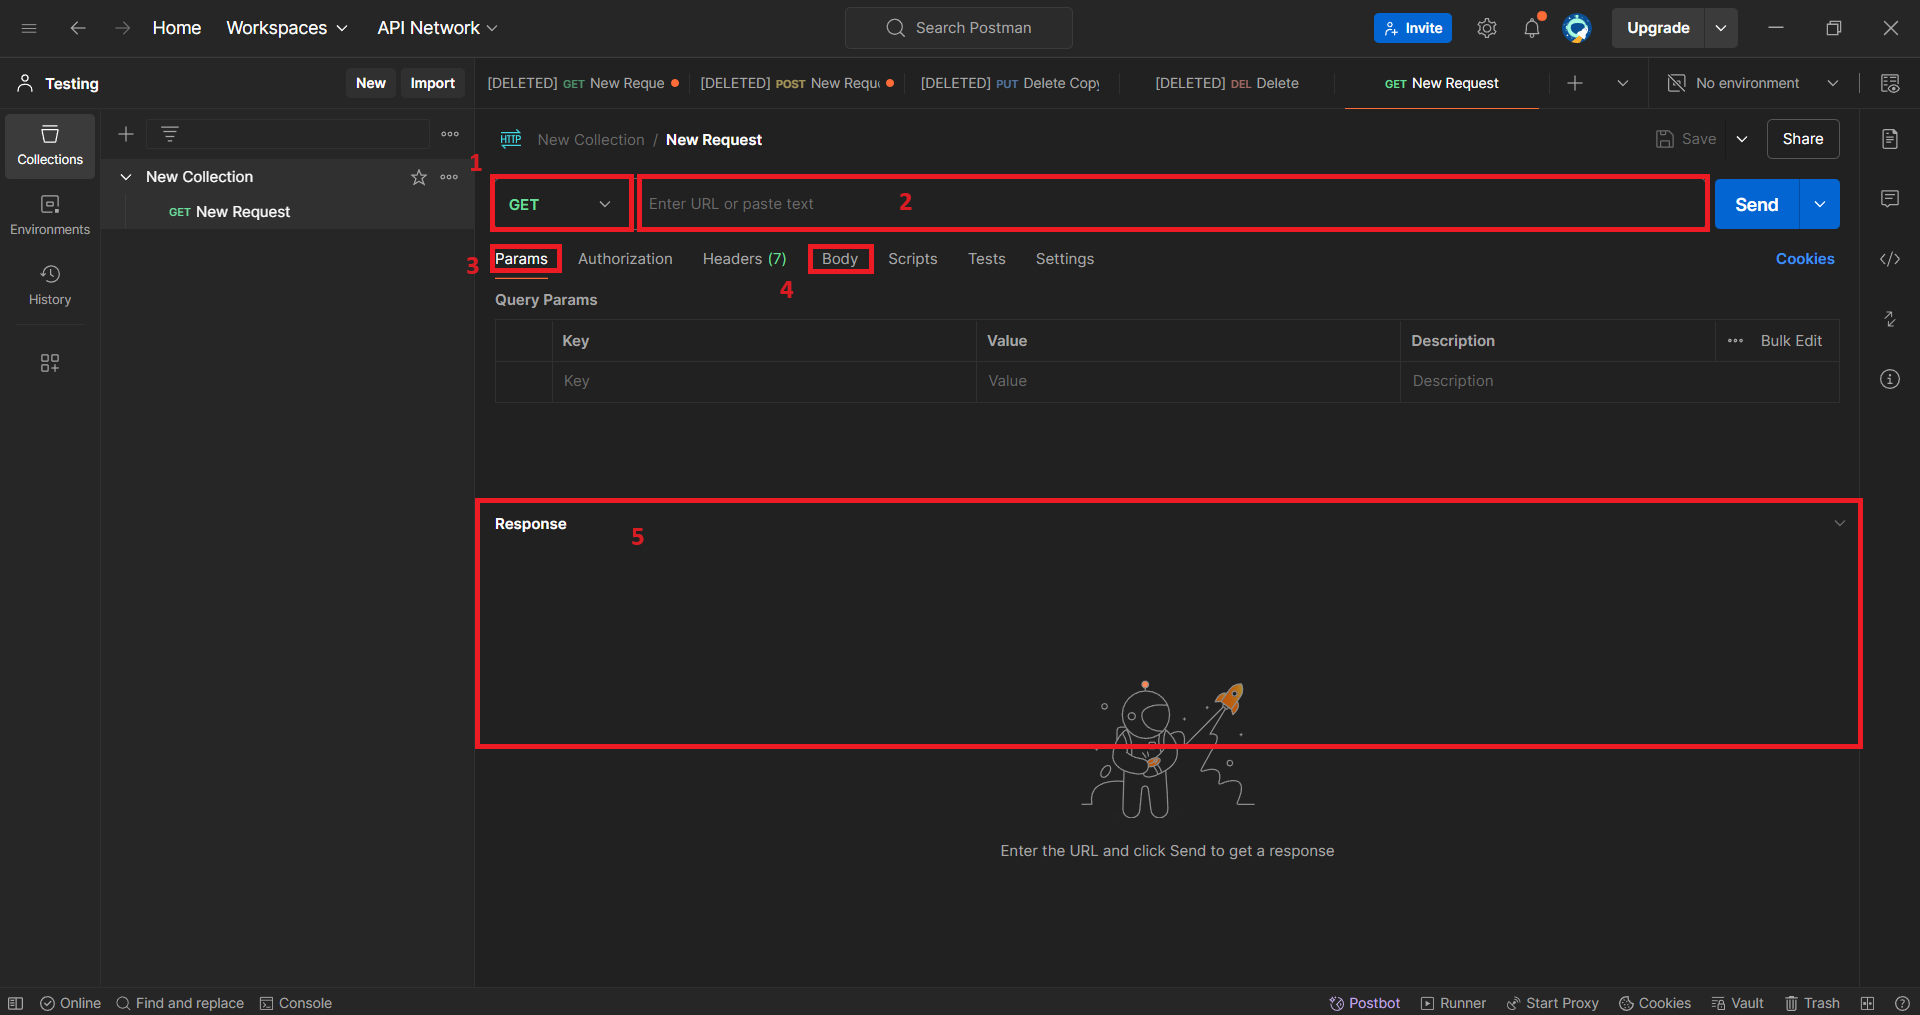
In that screen you can specify:
- Method Type (GET, POST, PUT, DELETE)
- URL: Endpoint URL of your API
- Params: Query parameters to pass in the URL
- Body: Form data or other content to send with the request
- Response: Displays the API's response when tested
In the next chapter, we'll explore how to use these options effectively.
-
Renaming Request:
Similary, you can move your mouse over the request and click three dots to expand the menu and select
Renameto rename the name of the request of your choice i.e. Get book.